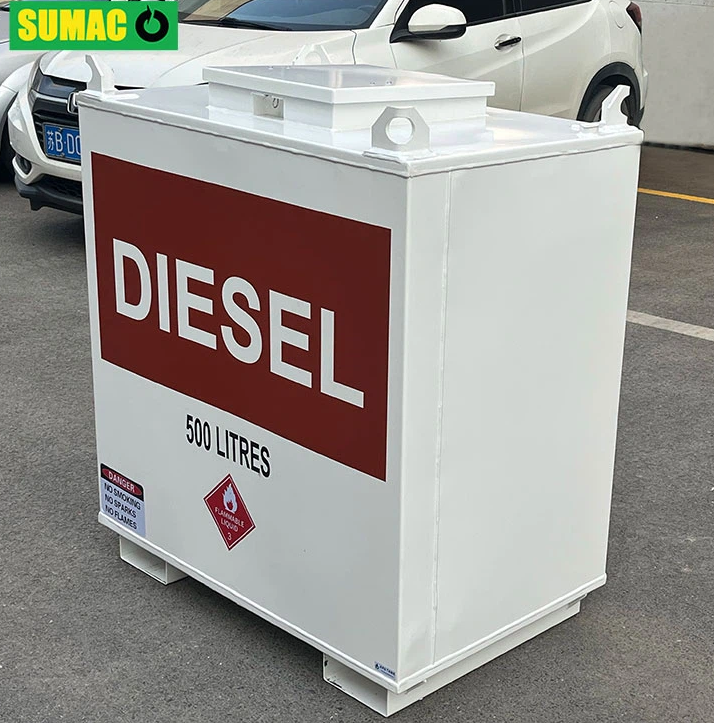
Here are some common methods for detecting the welding quality of steel fuel tanks:
Visual Inspection
- This is the simplest and most basic method. Inspectors visually check the weld surface for any obvious defects such as cracks, pores, slag inclusions, and incomplete penetration. They also check the weld bead appearance, including its width, height, and uniformity. A good - quality weld should have a smooth and regular surface without any visible discontinuities.
Penetrant Testing
- Penetrant testing is used to detect surface - breaking defects. First, a penetrant liquid is applied to the weld surface. It seeps into any cracks or pores. After a certain dwell time, the excess penetrant is removed, and a developer is applied. The developer draws out the penetrant in the defects, making them visible as colored lines or spots, indicating the presence of flaws.
Magnetic Particle Testing
- This method is suitable for detecting surface and near - surface defects in ferromagnetic materials. A magnetic field is applied to the weld area, and then magnetic particles are sprinkled on the surface. The particles will be attracted to the areas where there are magnetic field disturbances caused by defects such as cracks, forming visible patterns that help identify the location and size of the defects.
Ultrasonic Testing
- Ultrasonic testing uses high - frequency sound waves to detect internal defects in the weld. A transducer emits ultrasonic waves into the weld, and the reflected waves are analyzed to identify any discontinuities or flaws. This method can accurately detect defects such as lack of fusion, porosity, and cracks inside the weld, and is particularly effective for detecting small - sized internal defects.
Radiographic Testing
-
Radiographic testing involves exposing the weld to X - rays or gamma - rays. The rays pass through the weld and are recorded on a film or a digital detector. Defects such as pores, inclusions, and cracks will show up as darker or lighter areas on the radiograph, allowing inspectors to evaluate the internal quality of the weld. This method provides a permanent record of the weld quality and can accurately identify the type and location of defects.

